How to Hang a Painting: 5 Easy Steps
Found a really great piece of art, but have no idea where to put it and how to hang it? No worries, we have you covered. It may take a little bit of measuring and thinking to hang a painting, but it’s still easy to do.
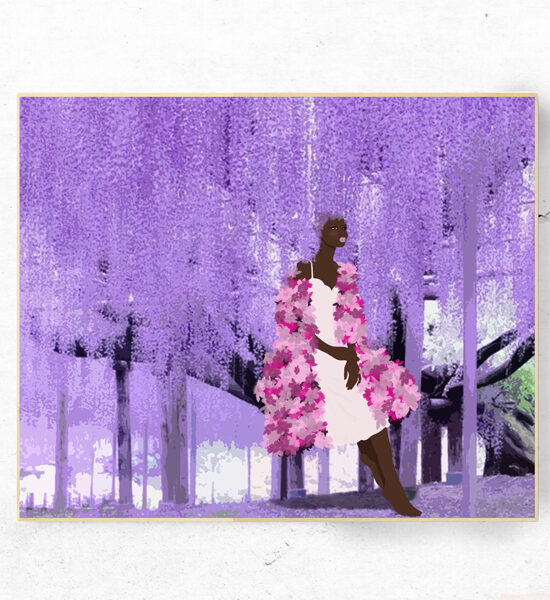
Don’t have a piece of art to hang? Might we suggest one of these illustration art prints. Custom illustrations are also available for those wanting something unique and personal.
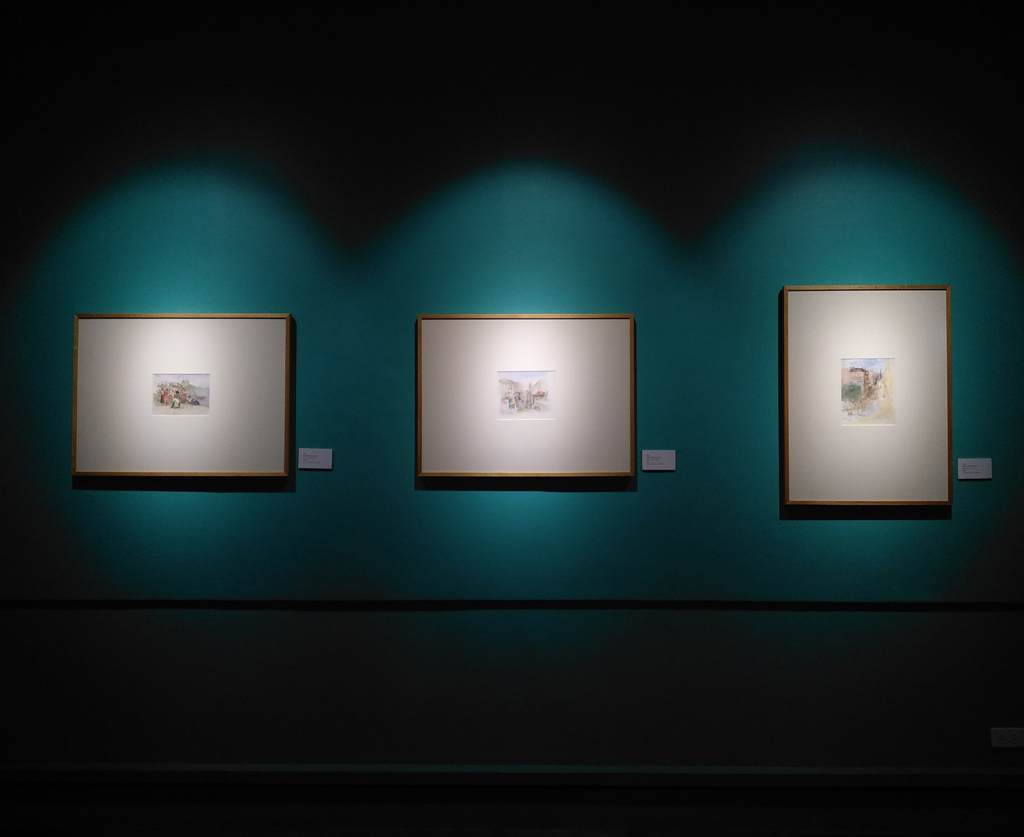
- Before you just throw a painting up on the wall, you need to figure out a few things first. The first being the size. Make sure that your painting is the right size for the space. Too big and it looks crowded and awkward, too small and the room looks unfinished. If you’re going for one piece, place it in the middle of the wall and at eye level. A good rule of thumb to get that eye level right is to simply keep the center of the painting 5 feet off the floor, as per the Queen of Home Décor herself.
While hanging a piece exactly in the middle of the room looks perfectly put together, you can have some fun with some pieces and add a little bit of your personality to it. Try a large painting grouped with smaller ones, three medium sized paintings along a wall, or just go for the classic of one large painting as a focal point in your room. To keep it feeling less cluttered and more chic, don’t hang anything else on that wall and let the painting set the ambiance.
- Find out how you will be hanging your painting. Does it have a wire backing, a saw-tooth hanger? None of the above? Does it need one attached? This will help you decide how you will be hanging your painting up, whether with screws, nails and how many you will need.
If you have a wire backing, using two on either side will work well, while if your painting is lightweight and has a saw-tooth hanger, only one nail will most likely be used.
- Find the studs. If your picture is particularly heavy you will hang to hang it on the studs, as it’s always a good plan to hang pictures and shelving by using the studs for extra support. However, sometimes it doesn’t quite line up with your plan for where you will be hanging the painting. That’s where anchors come in.
If you are hanging a heavier painting, use screws and an anchor to keep it from falling right out of the drywall.
If you are hanging a lightweight painting, then an anchor won’t necessarily be needed.
- Pencil it in. Once you’ve found the appropriate spot for your painting, measure out where you will be putting the nail or screw, marking it with a pencil or a piece of chalk. Use a level to make sure that both spots (if applicable) are even so you don’t end up with a crooked piece of artwork.
Once marked, put in the nail or screw, leaving it out of the wall enough that it will hold the painting.
- Hang your painting and enjoy!